SDFA-L
Crystal Dust
Crystal Dust
Regular price
Rs. 249.00
Regular price
Rs. 300.00
Sale price
Rs. 249.00
Unit price
per
Taxes included.
Shipping calculated at checkout.
Couldn't load pickup availability
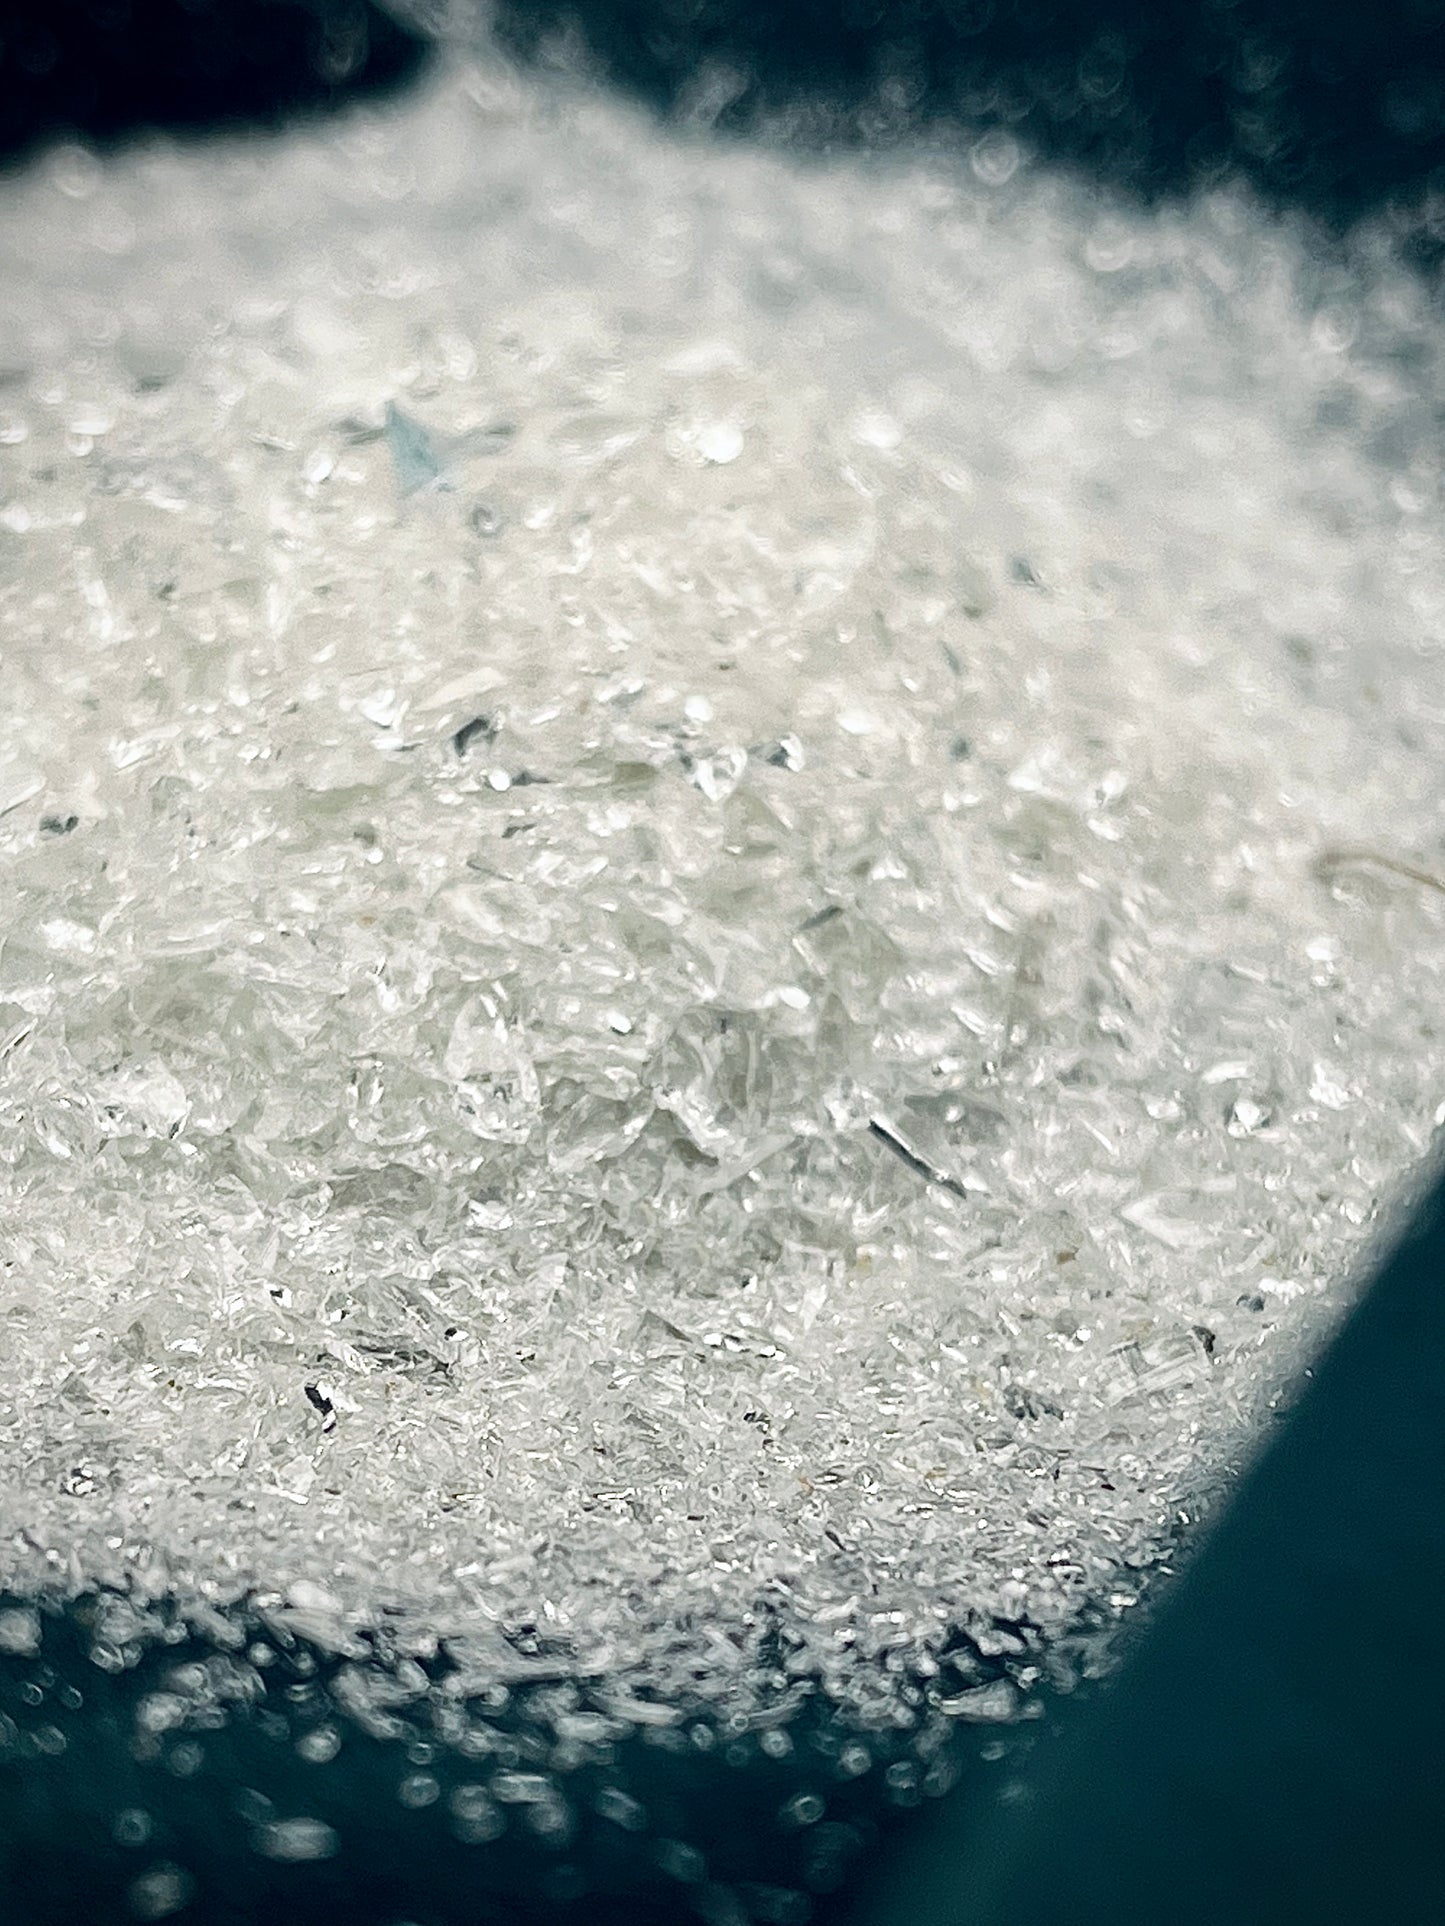
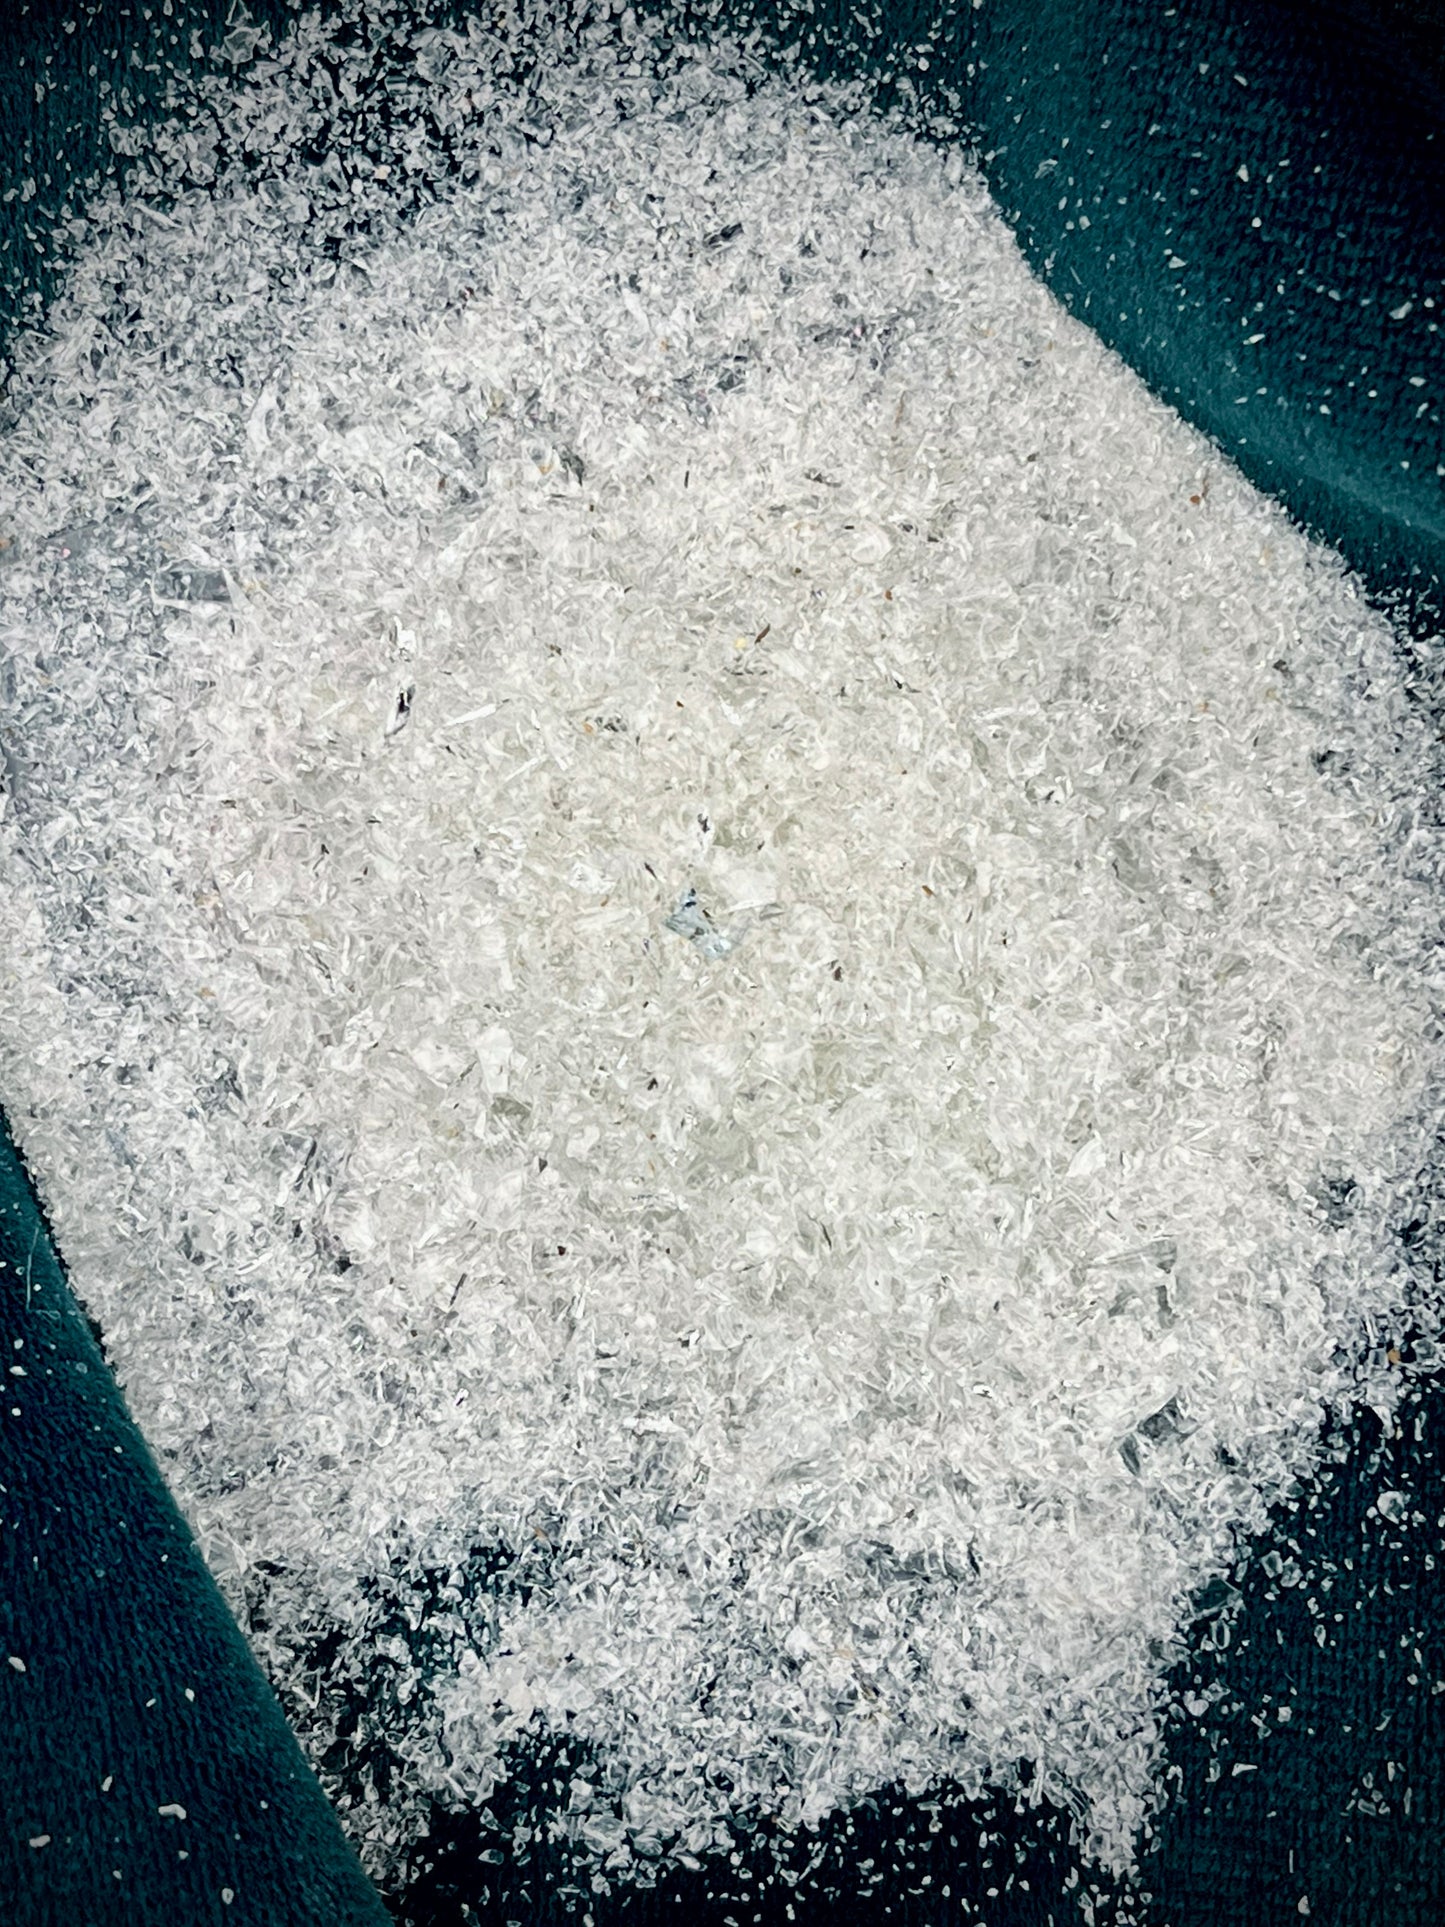
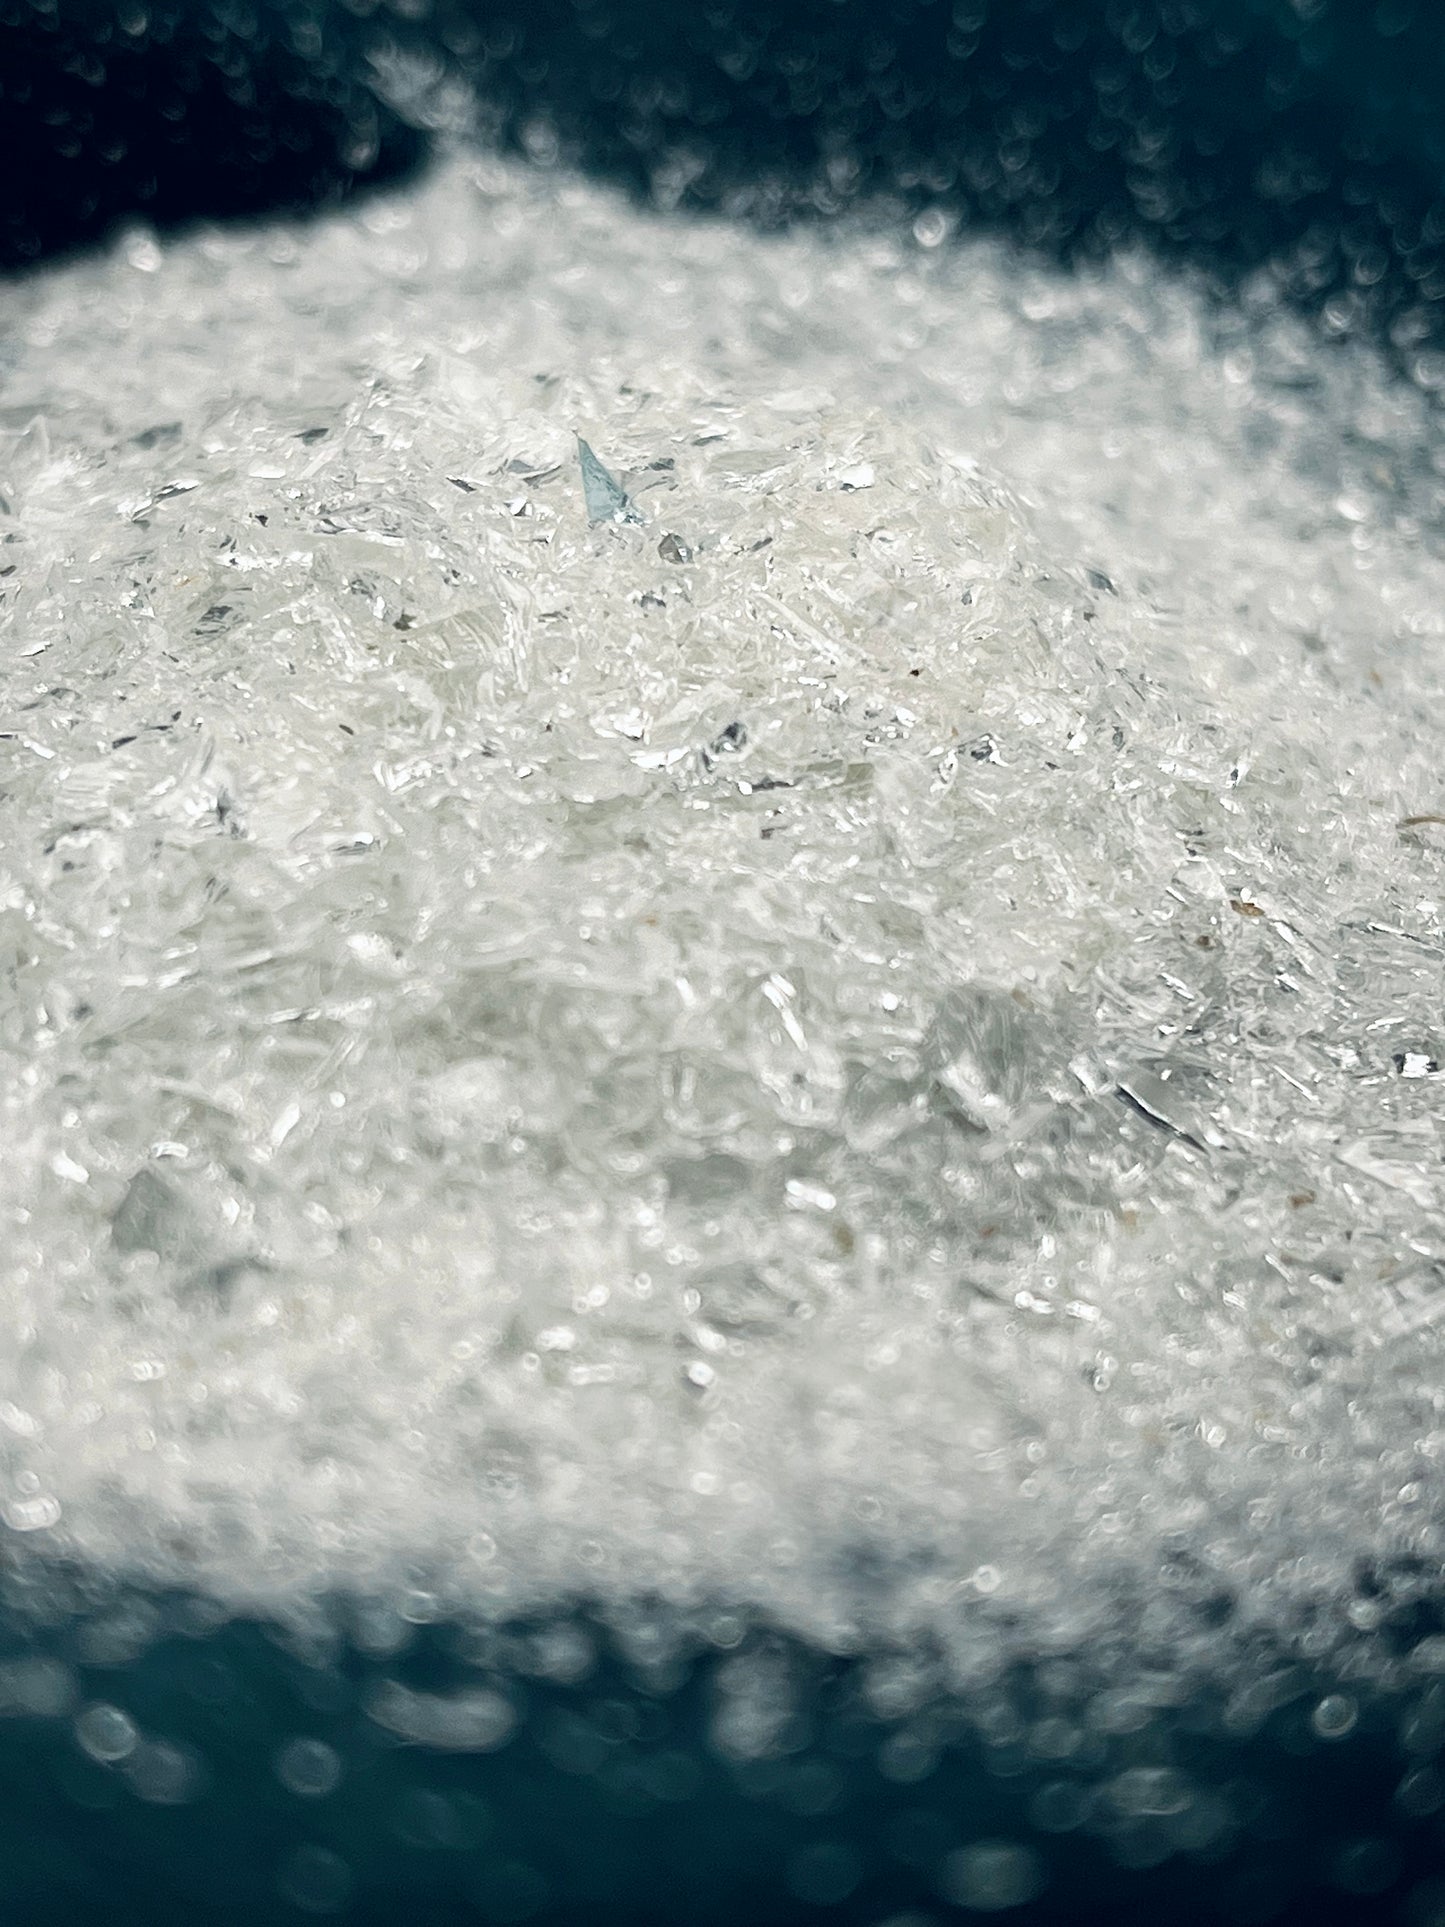
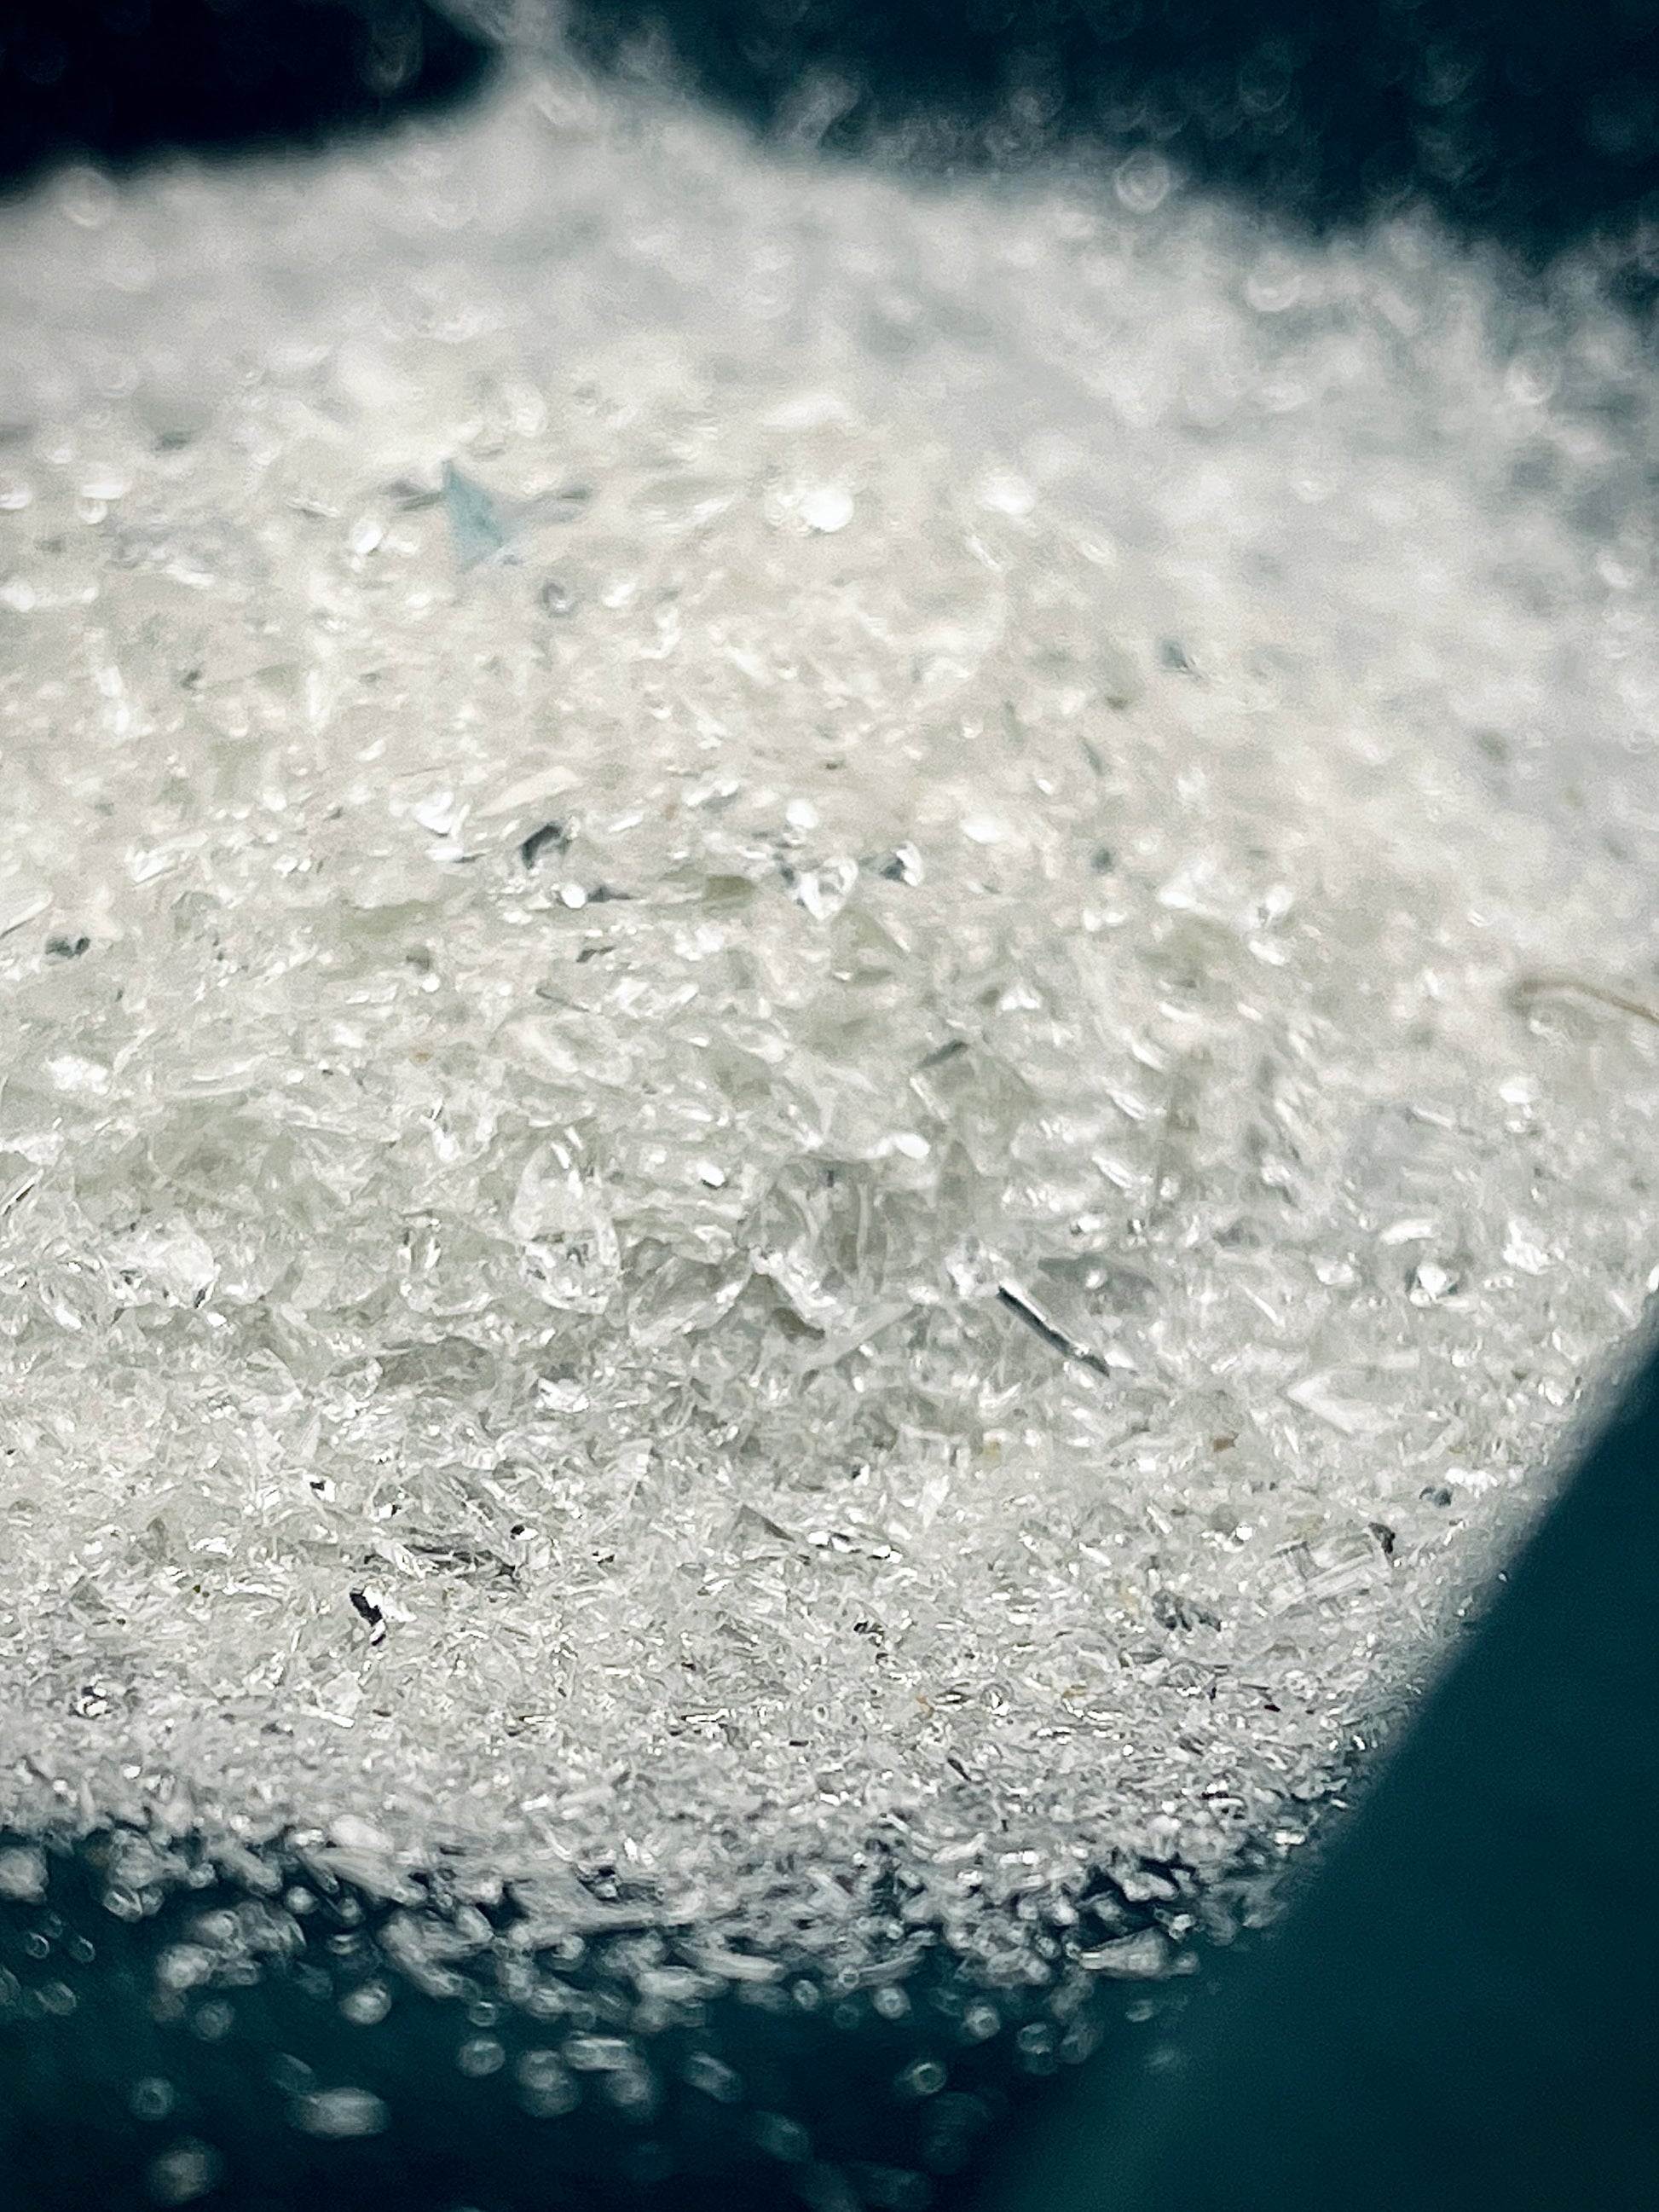
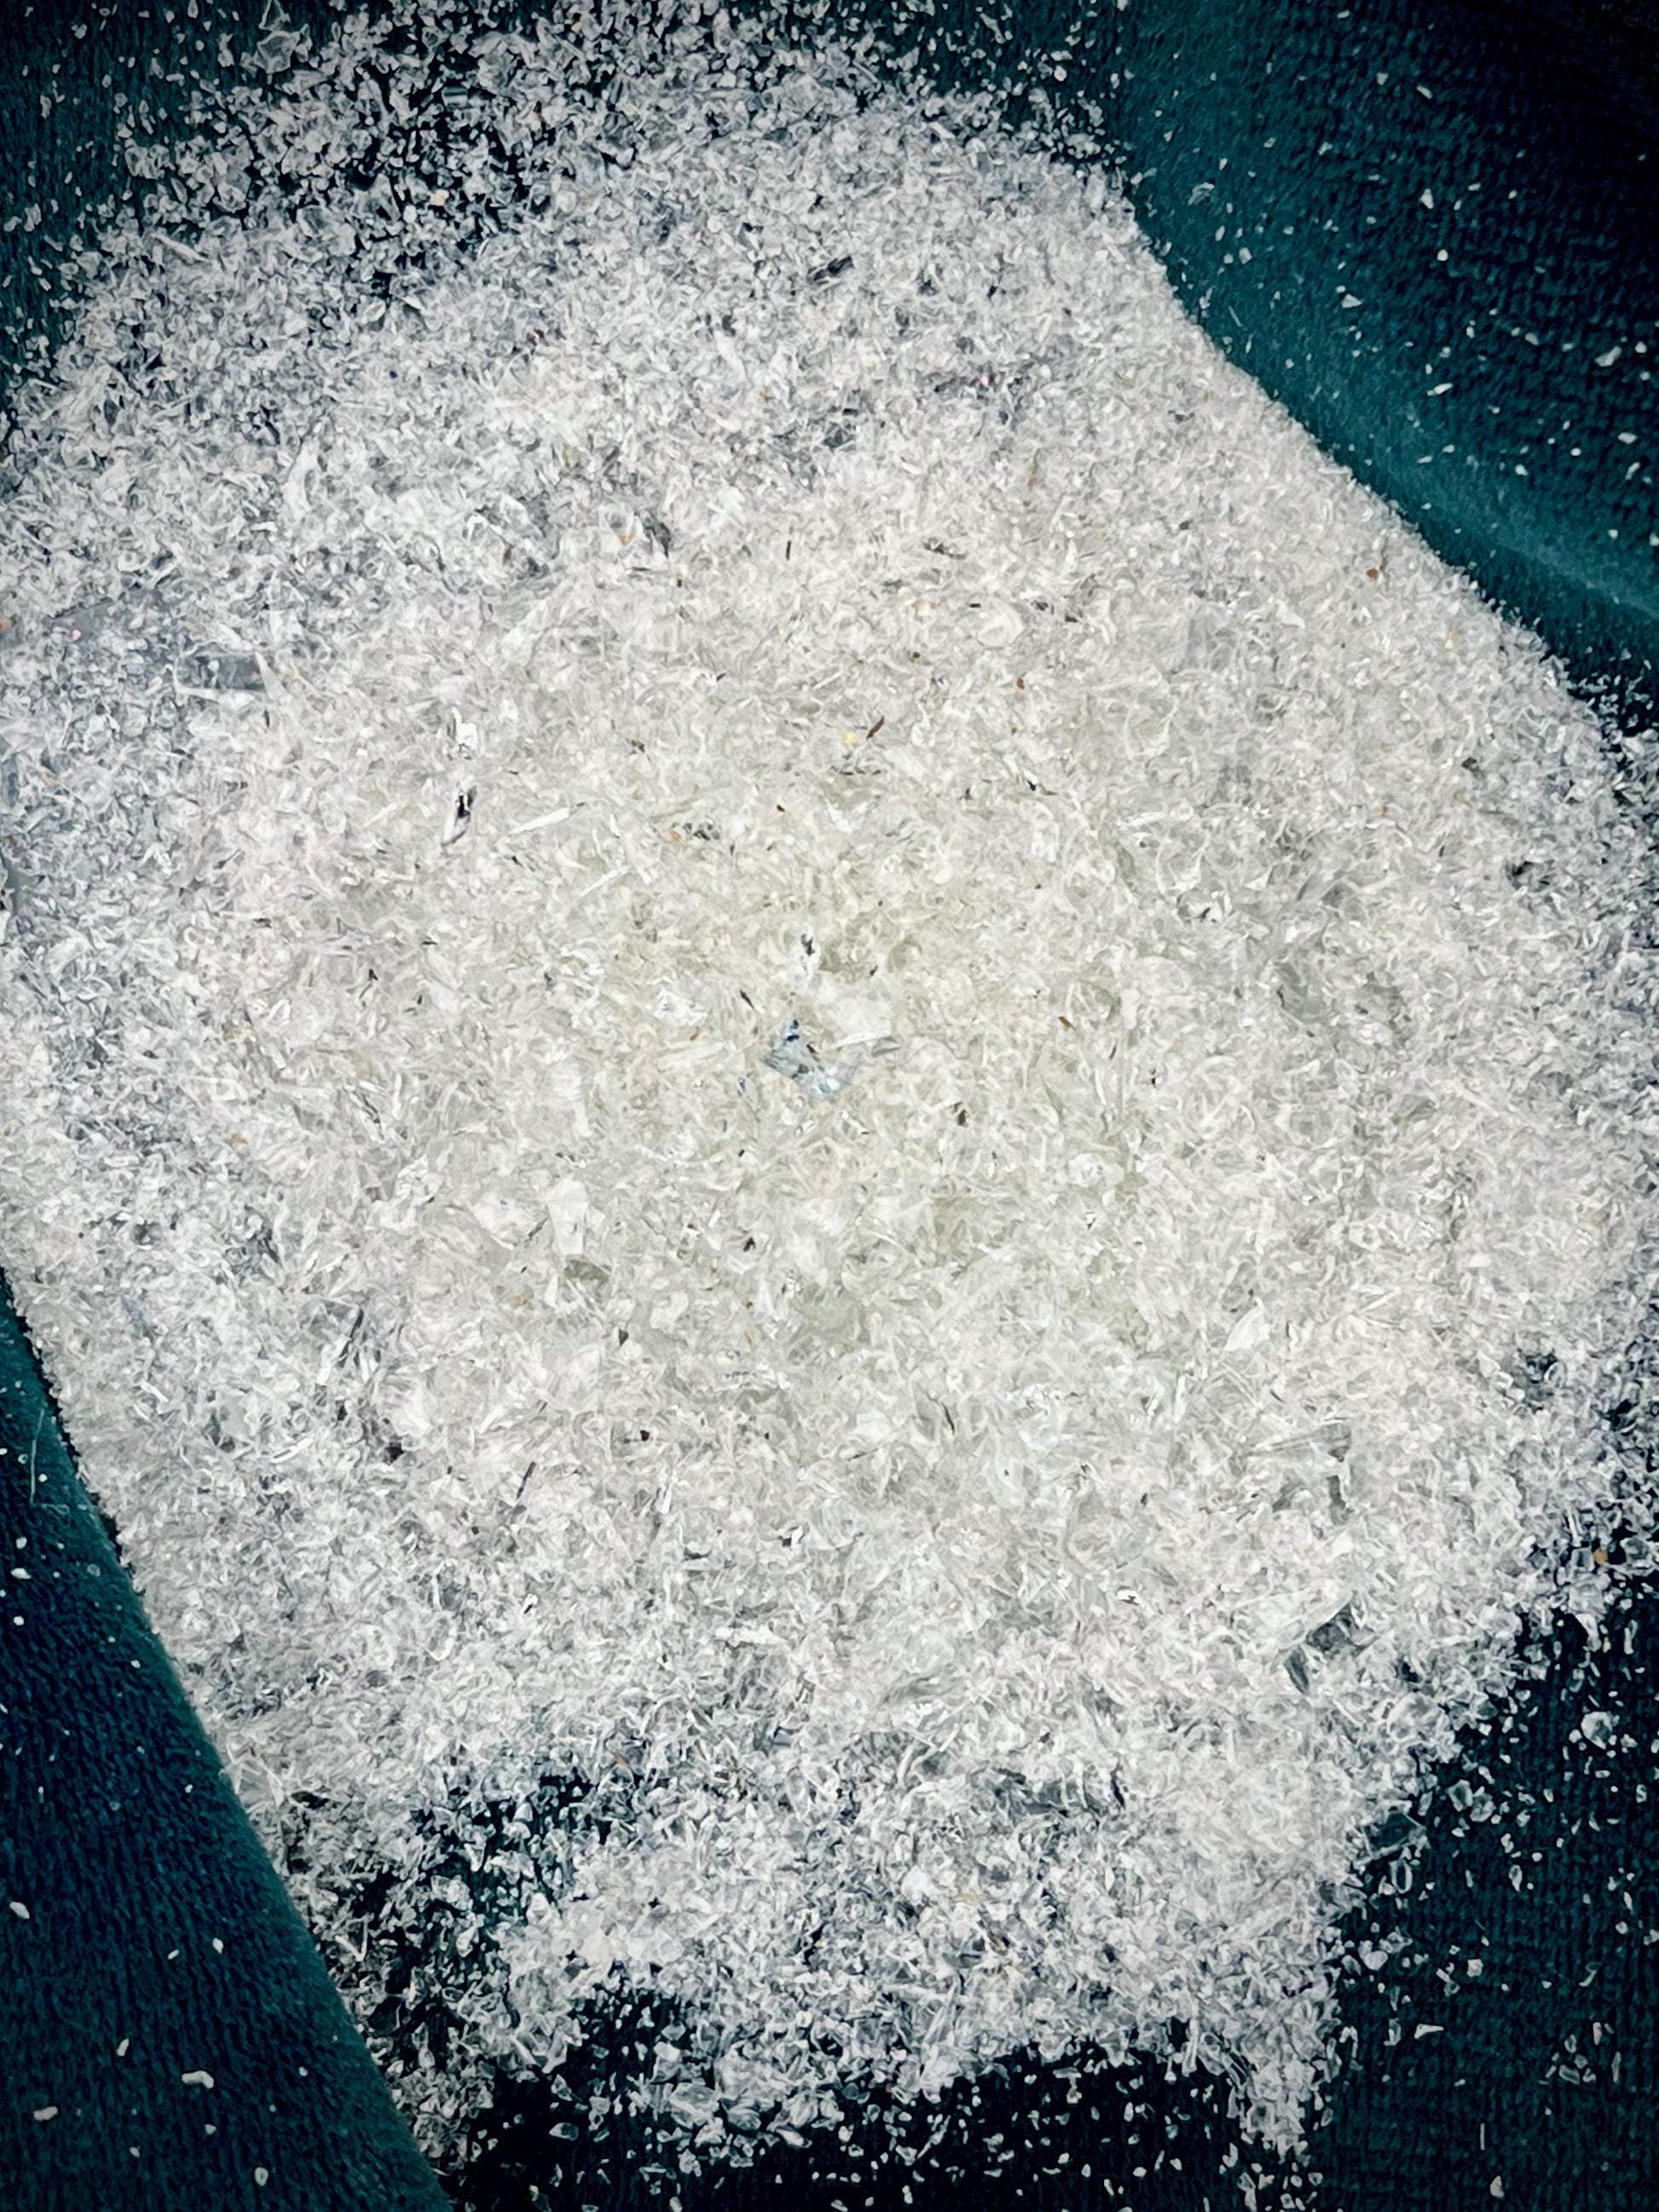
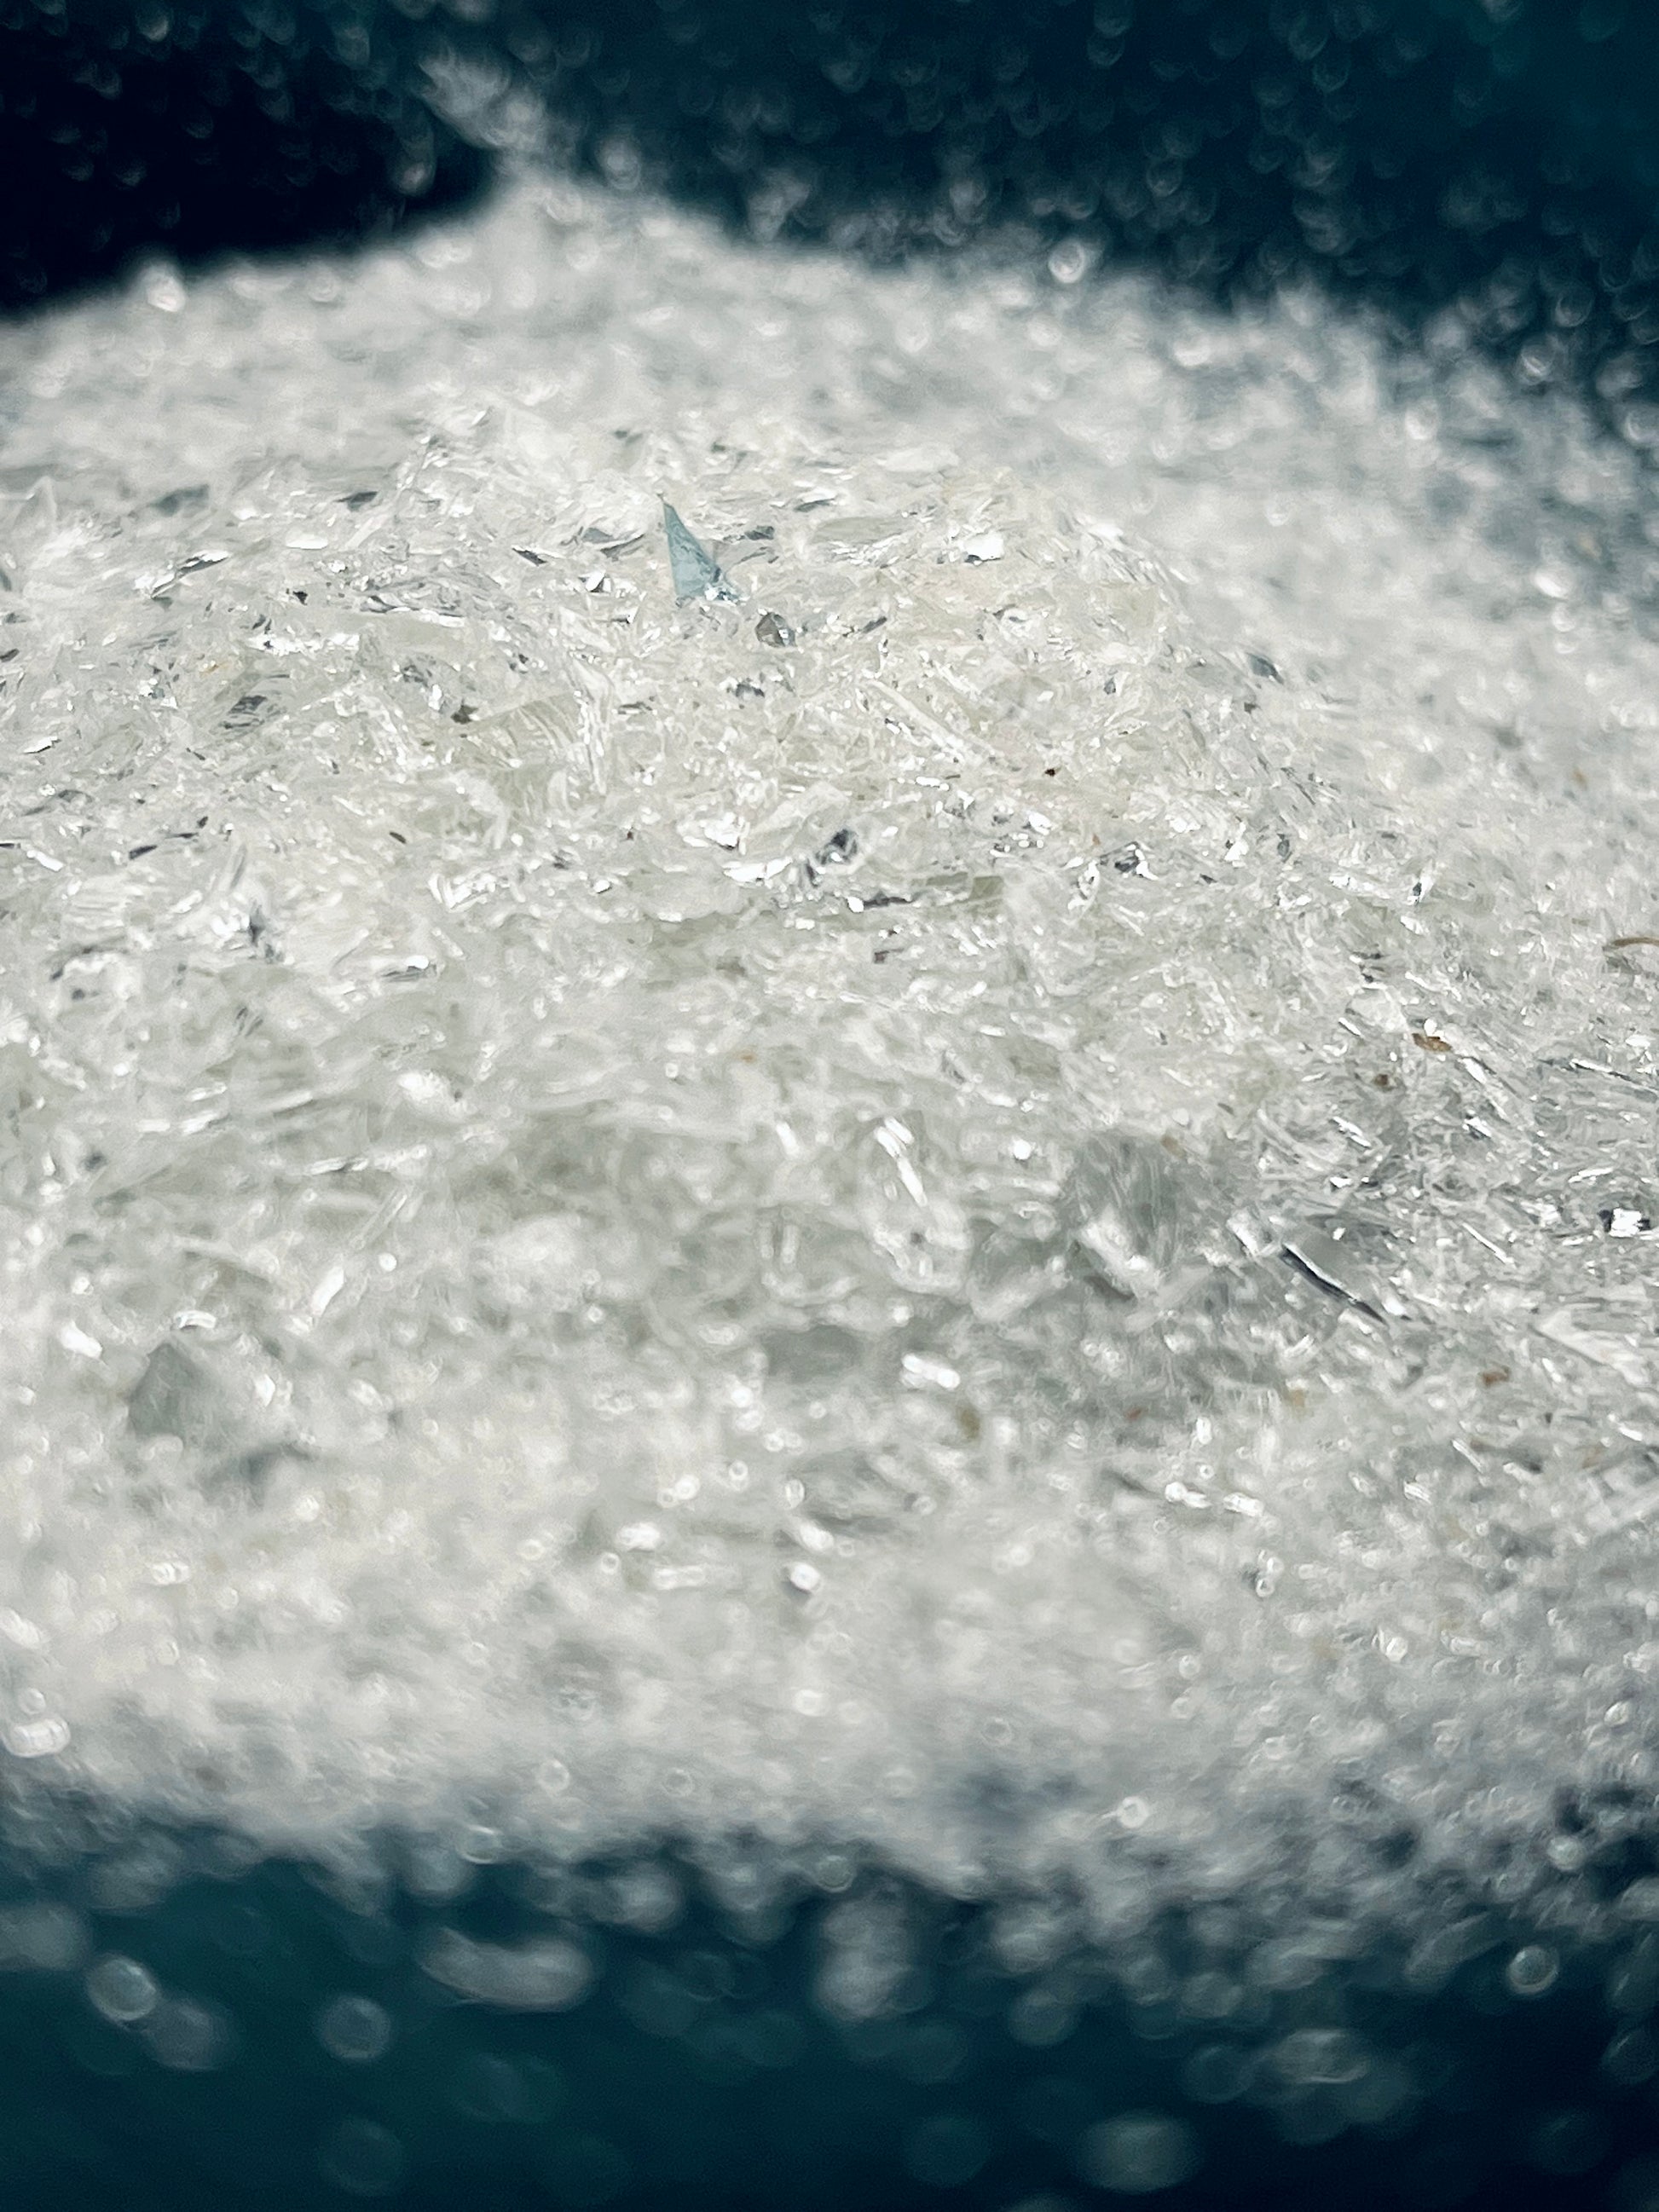
Crystal dust adds a beautiful shimmer and sparkle to resin projects, enhancing their visual appeal. Whether you're working with pigments or without, here's a step-by-step guide on how to incorporate crystal dust into your resin creations.
Materials Needed:
- Epoxy resin (with hardener)
- Crystal dust
- Mixing cups
- Stirring sticks
- Pigments (optional)
- Resin molds
- Protective gear (gloves, mask, goggles)
- Heat gun or torch (optional)
Instructions:
1. Prepare Your Workspace:
- Set up your workspace in a well-ventilated area.
- Wear protective gear to ensure your safety during the resin mixing and pouring process.
2. Measure Resin:
- Follow the manufacturer's instructions to measure the appropriate amount of resin and hardener for your project.
- Pour equal parts of resin and hardener into a mixing cup.
3. Mix Resin:
- Stir the resin and hardener thoroughly using a clean stirring stick. Ensure that you scrape the sides and bottom of the cup to achieve a complete mix.
- If using pigments, add them at this stage and continue stirring until the color is evenly distributed.
4. Add Crystal Dust:
- For resin without pigments: Sprinkle the desired amount of crystal dust directly into the mixed resin. The amount depends on your preference for sparkle.
- For resin with pigments: Add crystal dust after mixing in the pigments. This allows you to control the intensity of the sparkle independently of the color.
5. Mix Again:
- Stir the crystal dust into the resin mixture until it is evenly distributed. Ensure that the crystal dust is fully incorporated for a consistent shimmer.
6. Pour Into Molds:
- Carefully pour the resin mixture into your chosen molds. Take your time to avoid trapping air bubbles.
7. Remove Bubbles:
- Use a heat gun or torch to gently pass over the surface of the resin to remove any bubbles. Be cautious not to overheat the resin.
8. Cure:
- Follow the recommended curing time provided by the resin manufacturer. This typically involves letting the resin cure undisturbed for 24 to 48 hours.
9. Demold:
- Once fully cured, carefully demold your resin creations. If needed, use a release agent for easier removal.
10. Final Touches:
- Sand any rough edges and polish the surface for a smooth finish.
Experiment with different amounts of crystal dust to achieve the desired level of sparkle in your resin projects. Enjoy the creative process and the stunning results of your unique creations!
